Tape-in hair extensions are semi-permanent in nature and are quite common in the market. Unlike the other types, such as micro-link, which involves heat application, tape-ins are quick to apply.
Perfect for all hair types, especially thin strands, they’re less damaging when applied right. In this step-by-step guide, you’ll learn how to put tape-in extensions like a pro, plus get tips and mistakes to avoid hair extension comparisons.
Essential tools for installing tape-in hair extensions
Before we look at how to install tape in extensions, it is important first to identify the tools needed for proper installation. Here is a list of the must-have tape-in extension tools:
- Tail comb: You will need this to ensure proper sectioning of your natural hair.
- Hair Clips: These are used to hold sections of hair in place while applying the tape-in extensions.
- Tape-in extension: Choose one that works for your hair type and hair goals.
- Scissors: This is needed to trim the extensions to get the desired length.
- Flat Iron: You need this tool to apply gentle heat to the extension and secure the adhesive bond.
- Extra adhesive tape: This is necessary just in case you need to reapply or reinforce the extensions.
- Mirror: A handheld type is ideal as it offers better angles.
How to put in tape-in extensions: Step-by-step instructions
The first step is to cleanse your hair to eliminate any dirt and oil/product buildup. This will ensure that your hair is clean, dry and ready for installation. That said, here is how to apply tape in extensions:
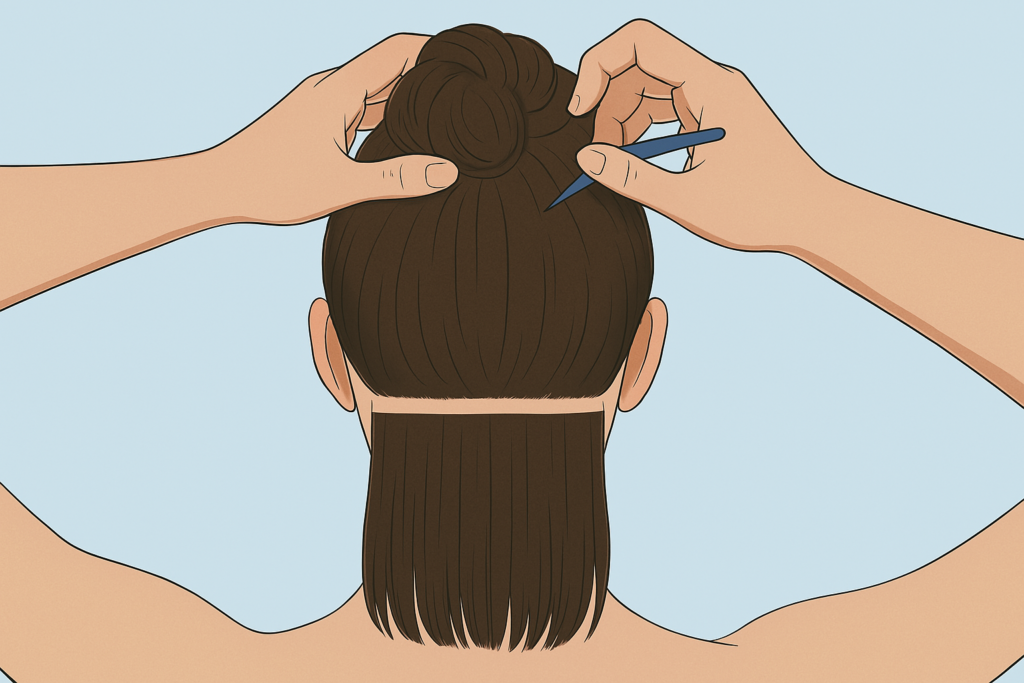
Step 1 – Section your hair like a pro
When doing sectioning for extensions, you should pay attention to the nature of the hair strands and the extensions you will be installing.
Tape-ins are among the best hair extensions for thin hair because of their excellent weight distribution. Always part your hair horizontally about one inch above the neckline using a tail comb. Do this gently without pulling the hair strands. Proceed to create thin subsections of about 1/8 inch (0.32 cm) thick within each one-inch partition to ensure the extensions remain comfortable.
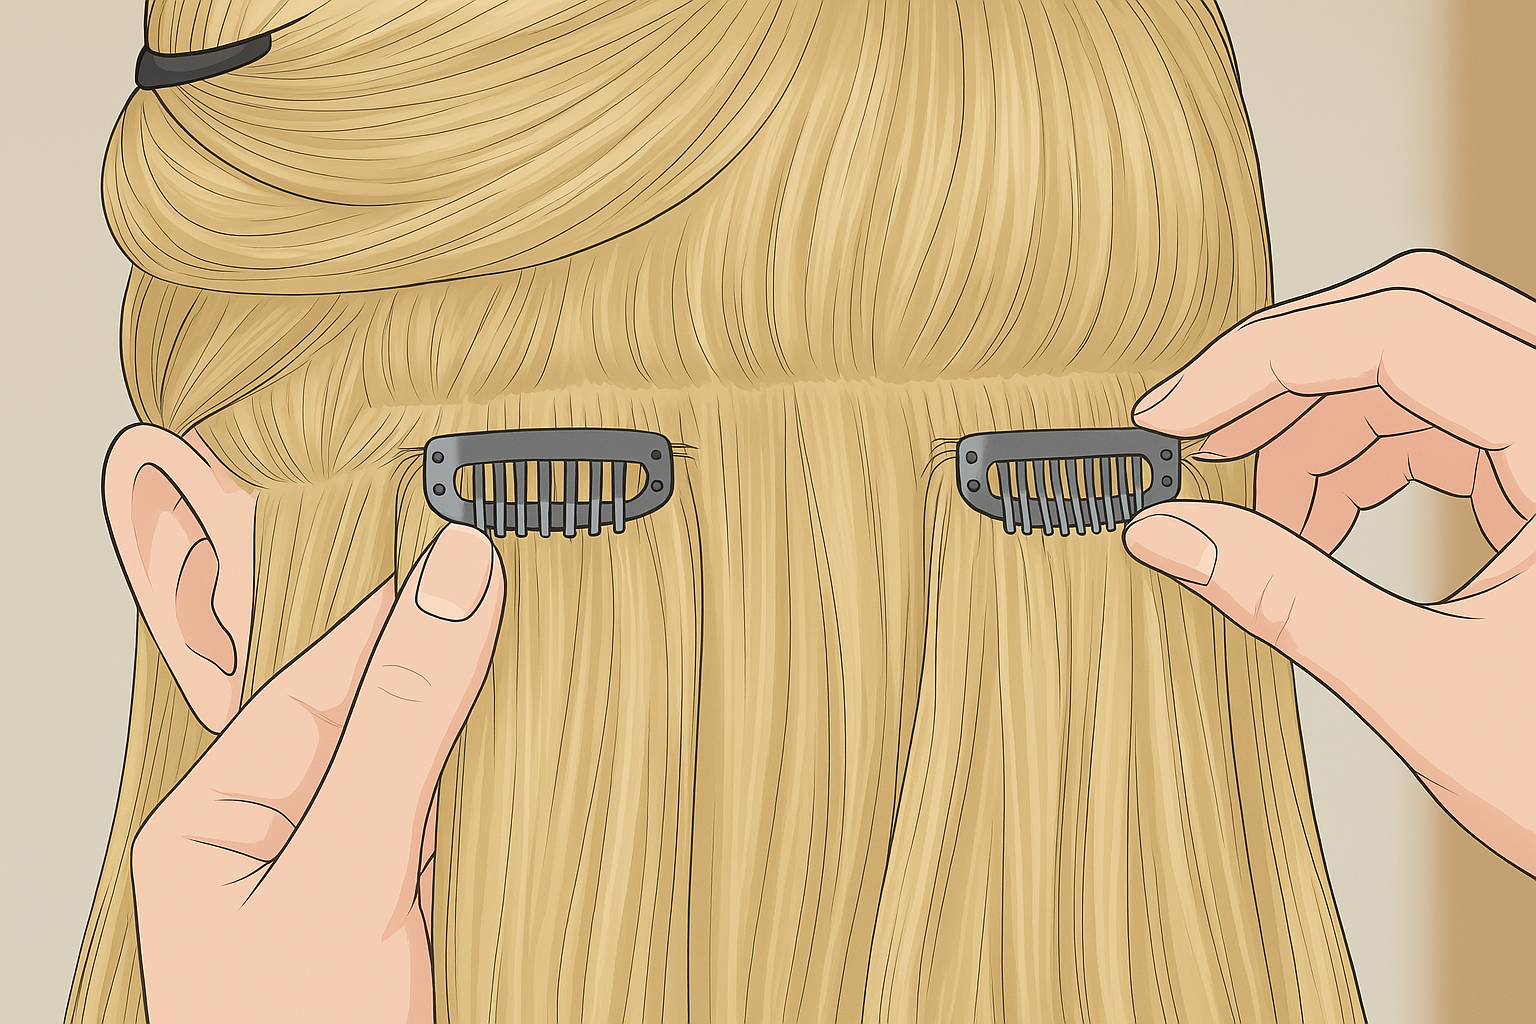
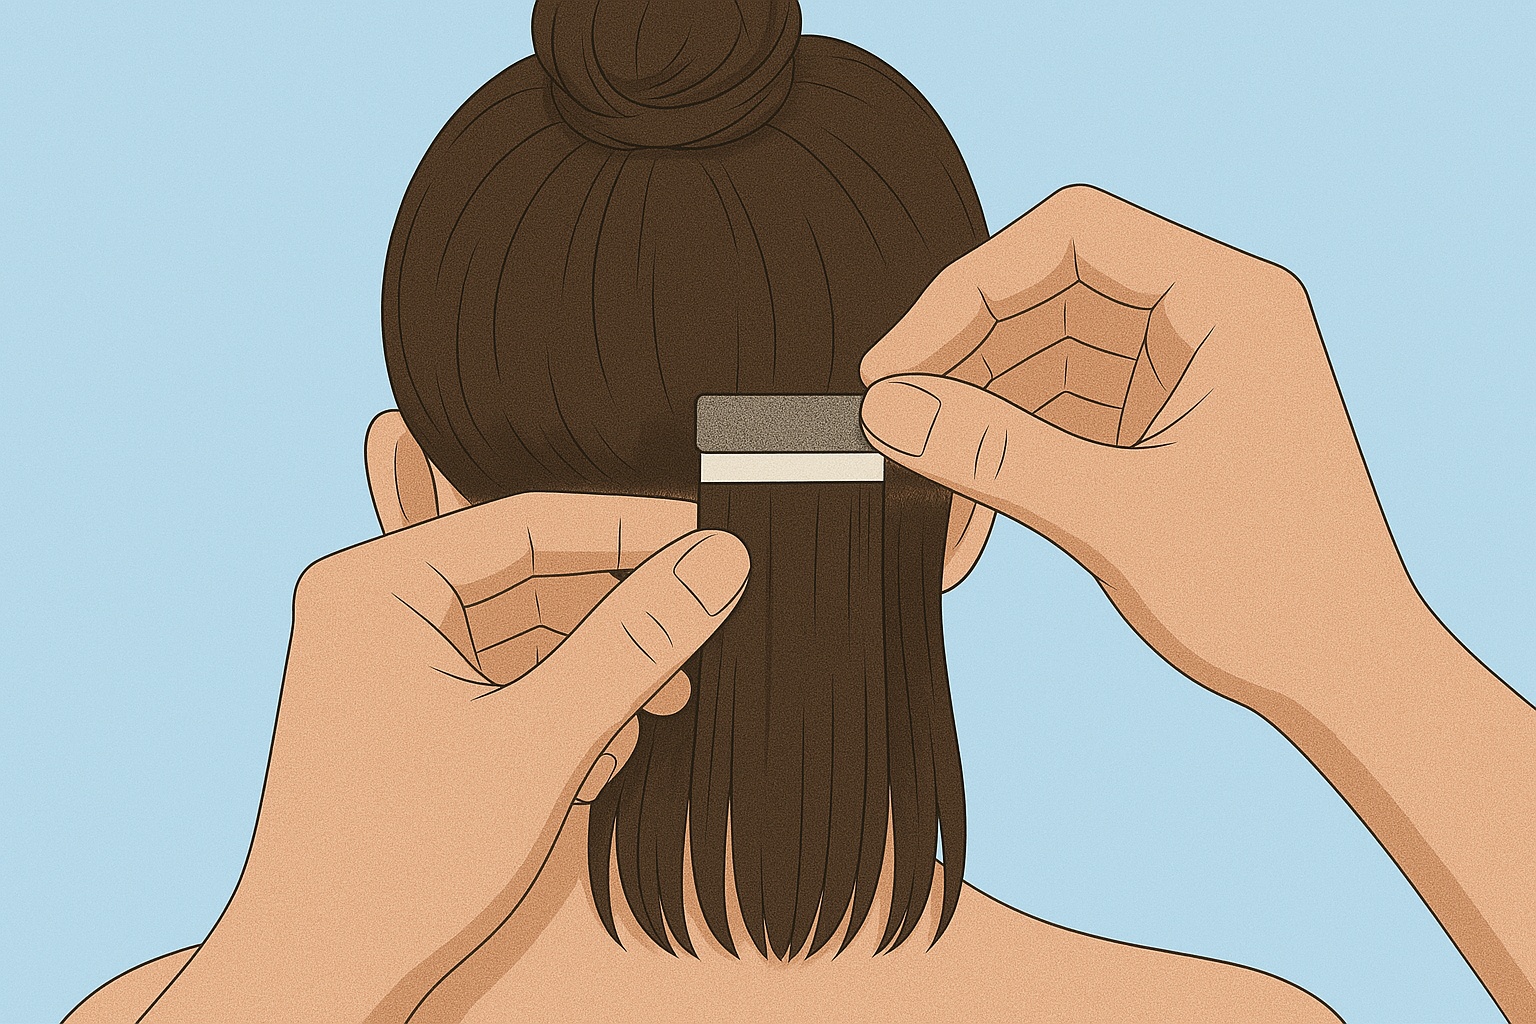
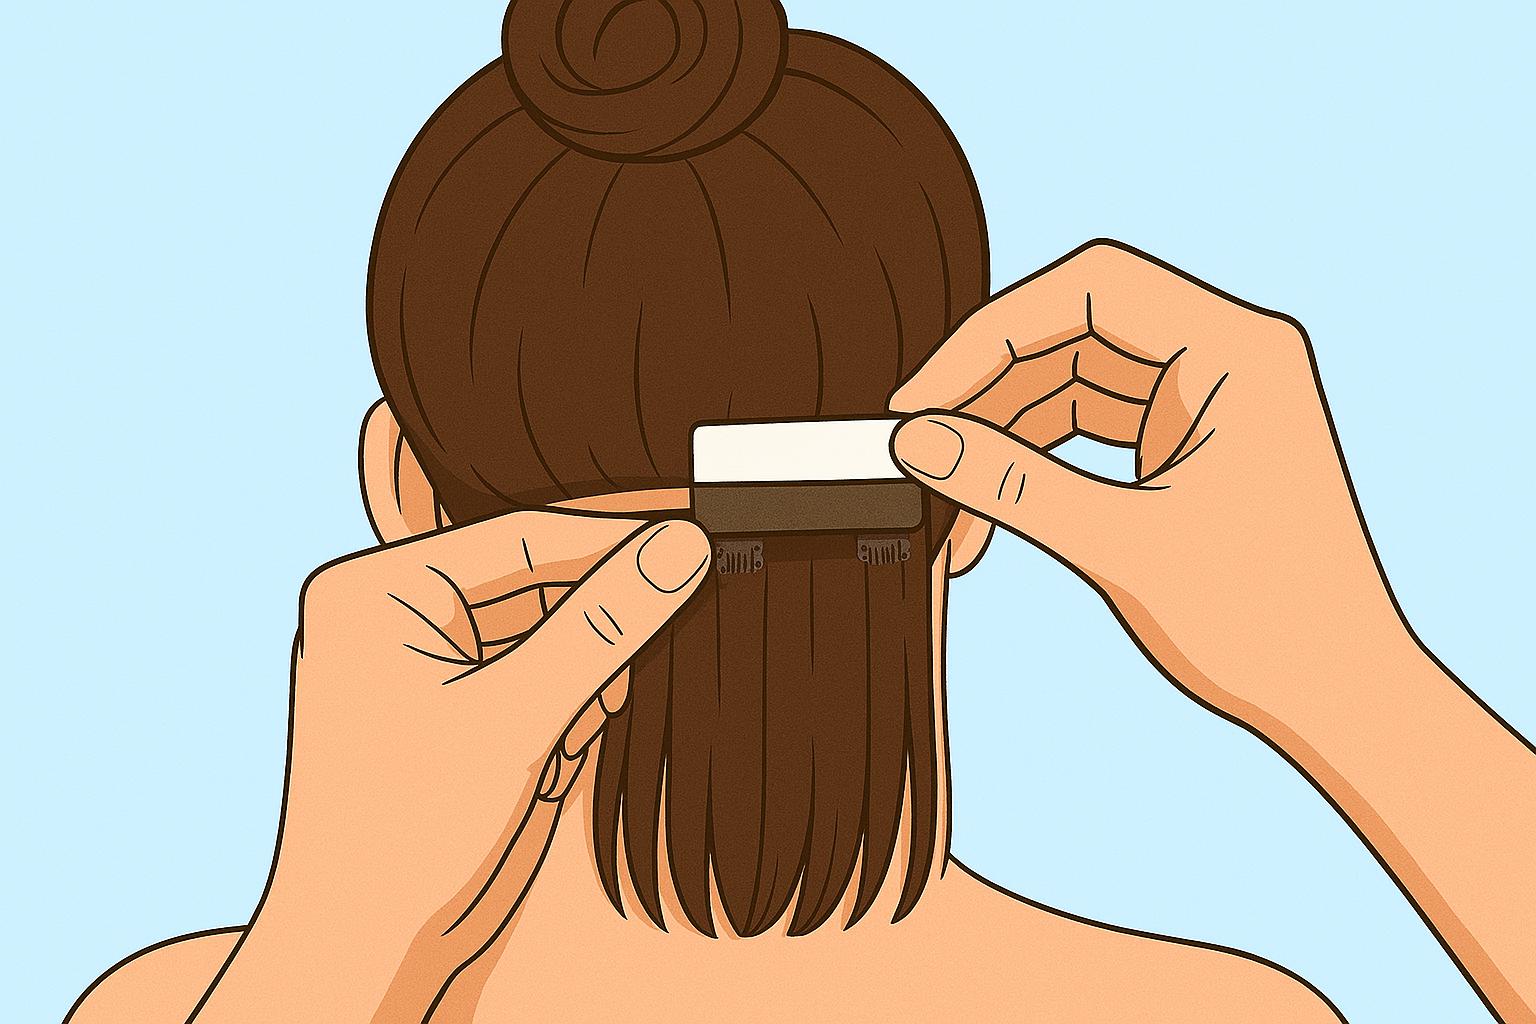
Step 2 – Place your first tape-in weft
The first thing you need to do when applying your first tape-in weft is to peel off the backing to reveal the adhesive side. Position this weft about 1/8 inch below your horizontal parting to adhere to the hair strands and not on the scalp.
The next step is to align a second weft over the first while pressing it firmly to create a sandwich (your natural strands in between).
To get the best results, ensure that the section of hair between the wefts is neither too thick nor too thin. This balance will maintain the integrity of the extensions and your natural hair.
Step 3 – Layer up the extensions
Once you have placed that first row at the nape of your neck, you want to move upward approximately 1 to 2 inches to create the next section. Use hair clips to secure the upper hair out of the way and ensure a clear working area. When applying a new pair of weft in this section, try to offset them from the previous row.
This staggered placement promotes a natural flow and prevents noticeable gaps between extensions. Remember to section and apply the wefts upward toward the crown while maintaining the staggered pattern as you continue the installation.
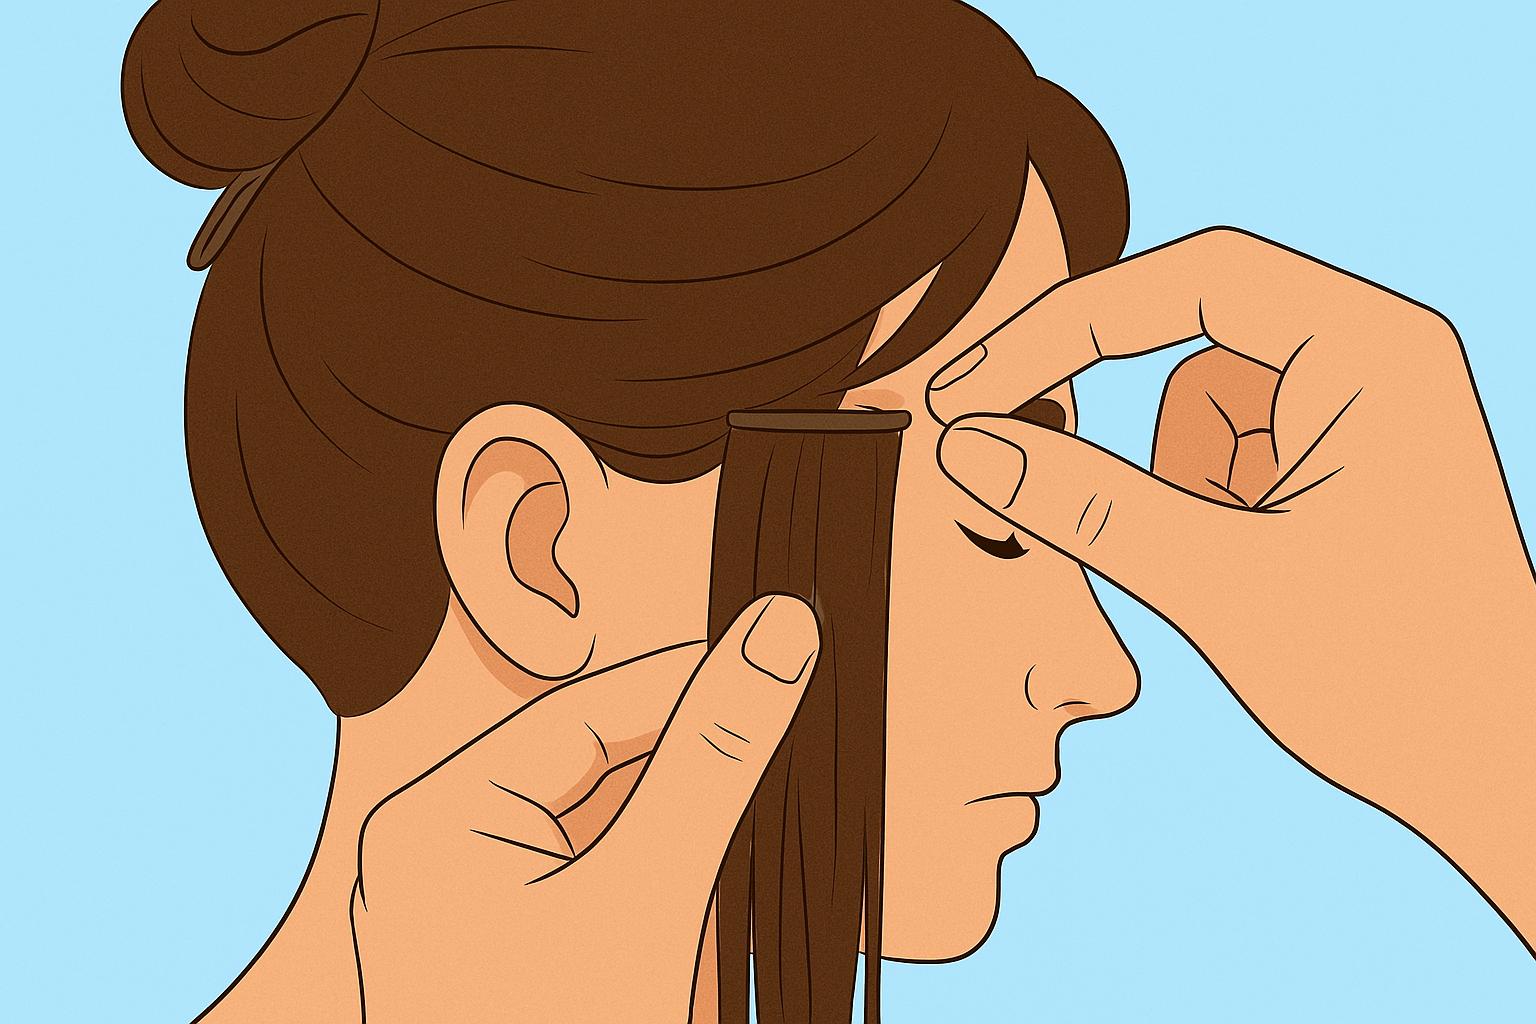
Step 4 – Frame your face with side wefts
This is a necessary part of the installation procedure that needs an eye for detail. To achieve a natural look, start by parting your hair vertically about 1 inch from your hairline near the temples. This sectioning allows for precise placement of the extensions and ensures they blend easily with your natural hair.
For these side wefts, opt for smaller sections, about 1-2 inches wide. These narrower extensions are easier to place around the face and provide a more natural look. Another technique you can try is placing one weft under a thin section of your natural hair and another on top. The goal is to sandwich your hair between the two extensions for a secure installation.
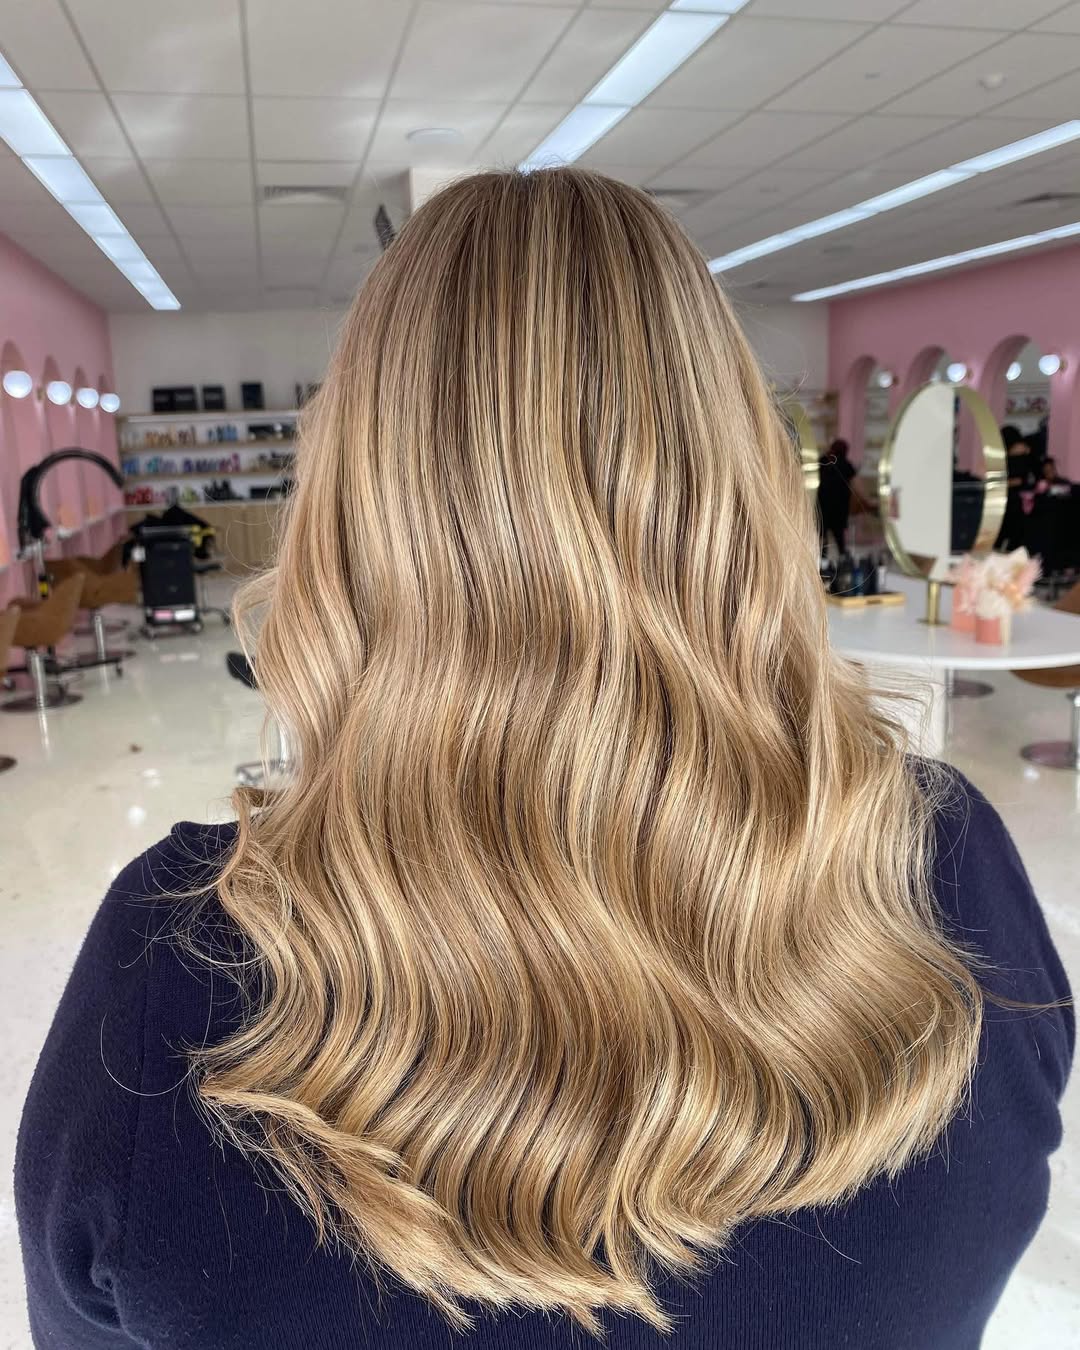
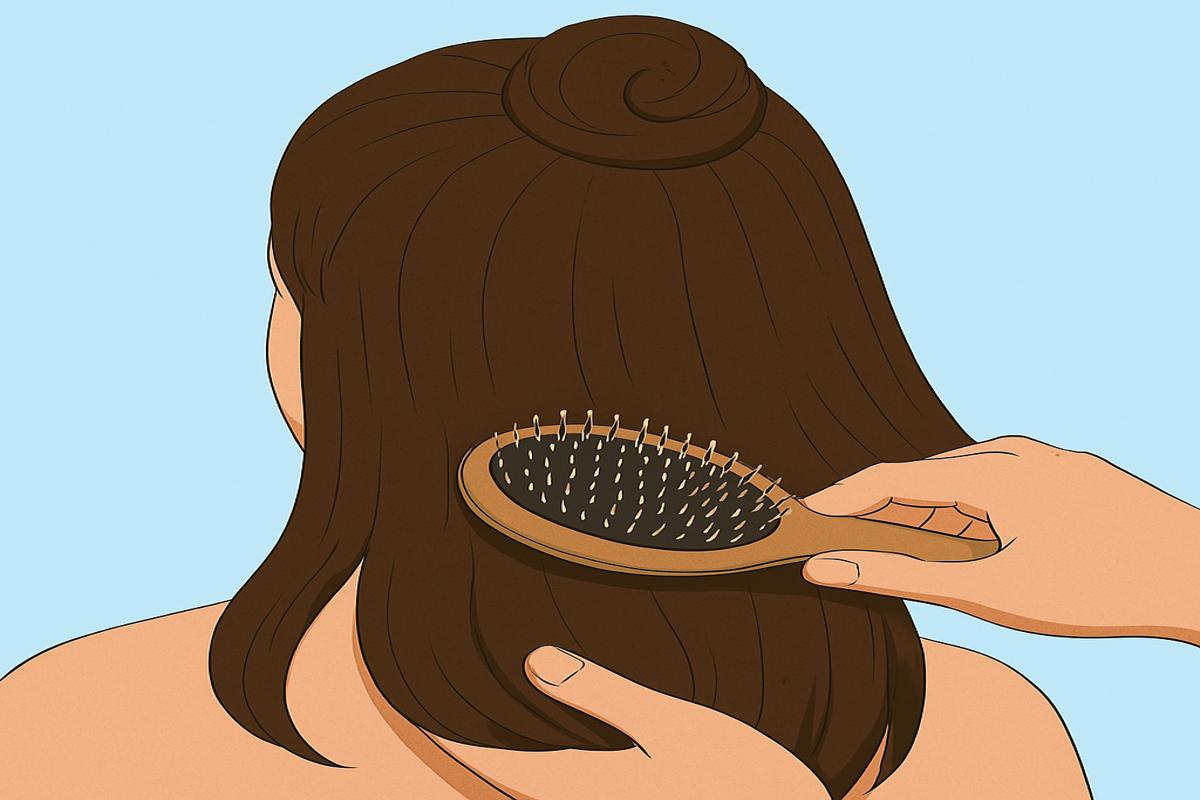
Step 5 – Blend and style for a seamless finish
After securing all the wefts, the next step is to gently unclip your hair and let it fall naturally over the extensions. Use a soft-bristle brush to detangle the hair from the ends without tugging at the roots. Where necessary, trim the extensions to match your haircut, and if you must use heat styling, adjust them to lower the heat and avoid the risk of damaging the adhesive. Use a lightweight serum to add shine and tame the flyaways as a final styling tip. Ensure the product is applied to the mid-lengths and ends, not the roots, as this can loosen the adhesive bonds.
Pro tips for flawless tape-in extensions
Whether you prefer the more trendy hair extensions styles installed by a professional or you want to go DIY, here are a few tips to keep in mind:
- Before installation, clean your hair to remove dirt and oils.
- Make sure to section your hair accurately. As noted, use a tail comb to create thin and precise sections.
- After the installation, styling products should be used on the mid-lengths and ends to avoid damaging the adhesives.
Once you finish the procedures above, a rule of thumb is to stick to a hair care routine. Choose the right shampoo for the hair extensions, depending on the condition and type of your hair. You should also learn to wash your hair extensions and always be gentle when brushing. Use a wide-tooth comb and brush from the tips as you work upward. This minimises tugging and reduces the risk of loosening or damaging the extensions.
Mistakes to avoid when installing tape-in extensions
Most first-timers are often eager to finally install their hair extensions and may overlook the basics. This eventually leads to issues down the line. Here are some you should avoid:
- Using hair styling products just before installing tape-in hair extensions.
- Positioning the extensions too close to the scalp.
- Sandwiching the extensions with hair sections that are too thick (prevents proper adhesion) or too thin (causes breakage).
- Overusing heat near the adhesive.
If you follow the installation procedures above and pay attention to the tips and common mistakes highlighted, you will have the best results possible. Installing your tape-ins right will make hair care and management easier, and it will also ensure a straightforward tape-in hair extension removal process once you want a style overhaul.
If you need your tape-ins installed by a professional, contact us today at Lady And The Hair for expert advice and styling services.